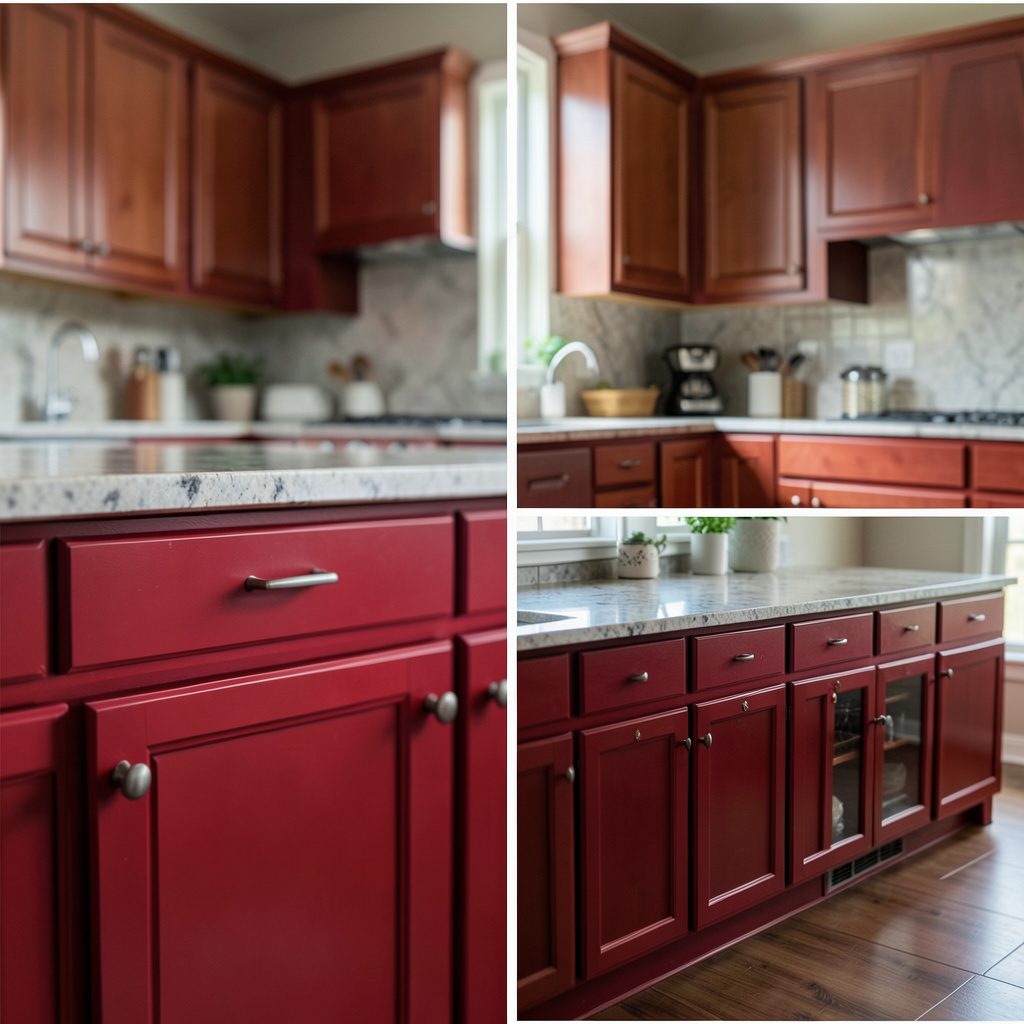
Cabinet Refacing Before And After
Side-by-side comparisons highlighting door replacement, veneer application, and updated hardware on existing cabinetry frames.
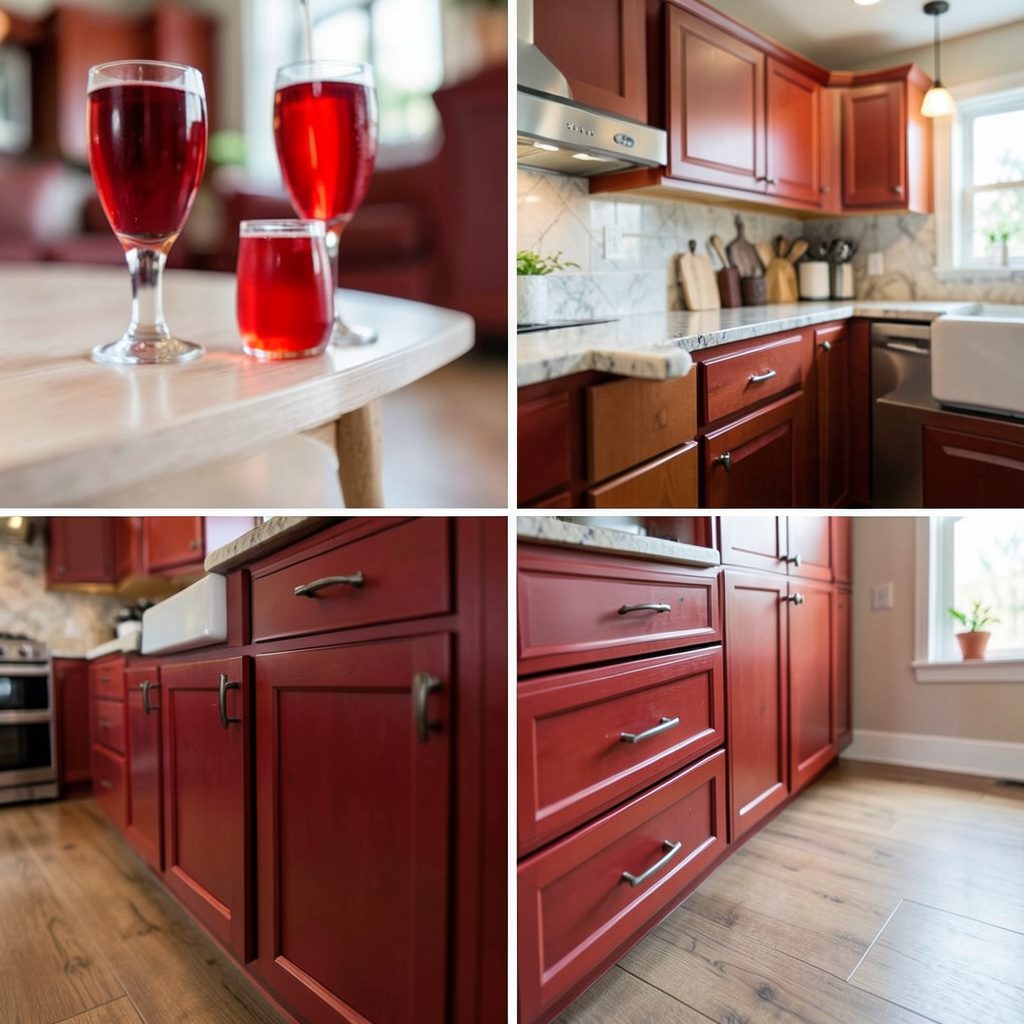
This collection gathers before-and-after references for homeowners planning a cabinet refacing project. The focus is on practical visual comparisons rather than step-by-step professional service promises.
Side-by-side comparisons highlighting door replacement, veneer application, and updated hardware on existing cabinetry frames.
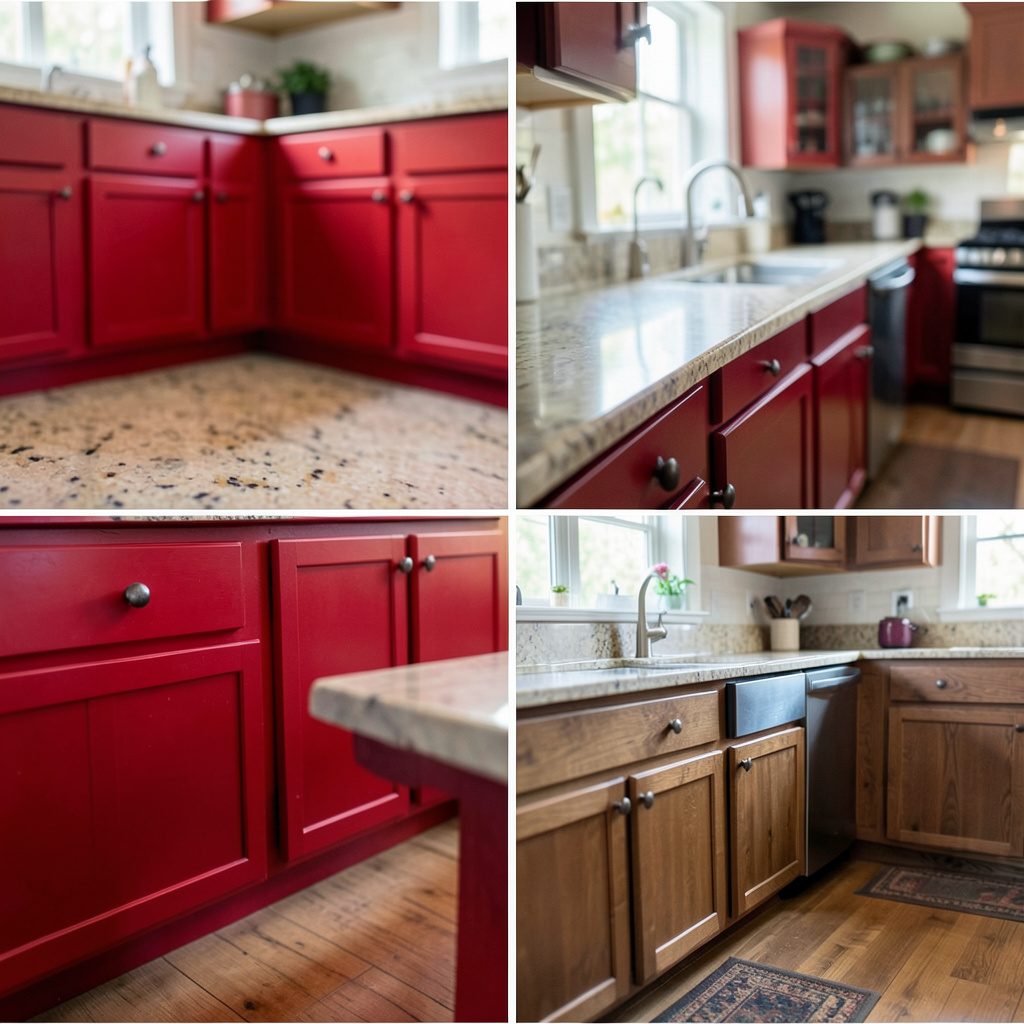
Insights into DIY-friendly shaker trim updates and how a modest material change can shift the look of an entire kitchen.
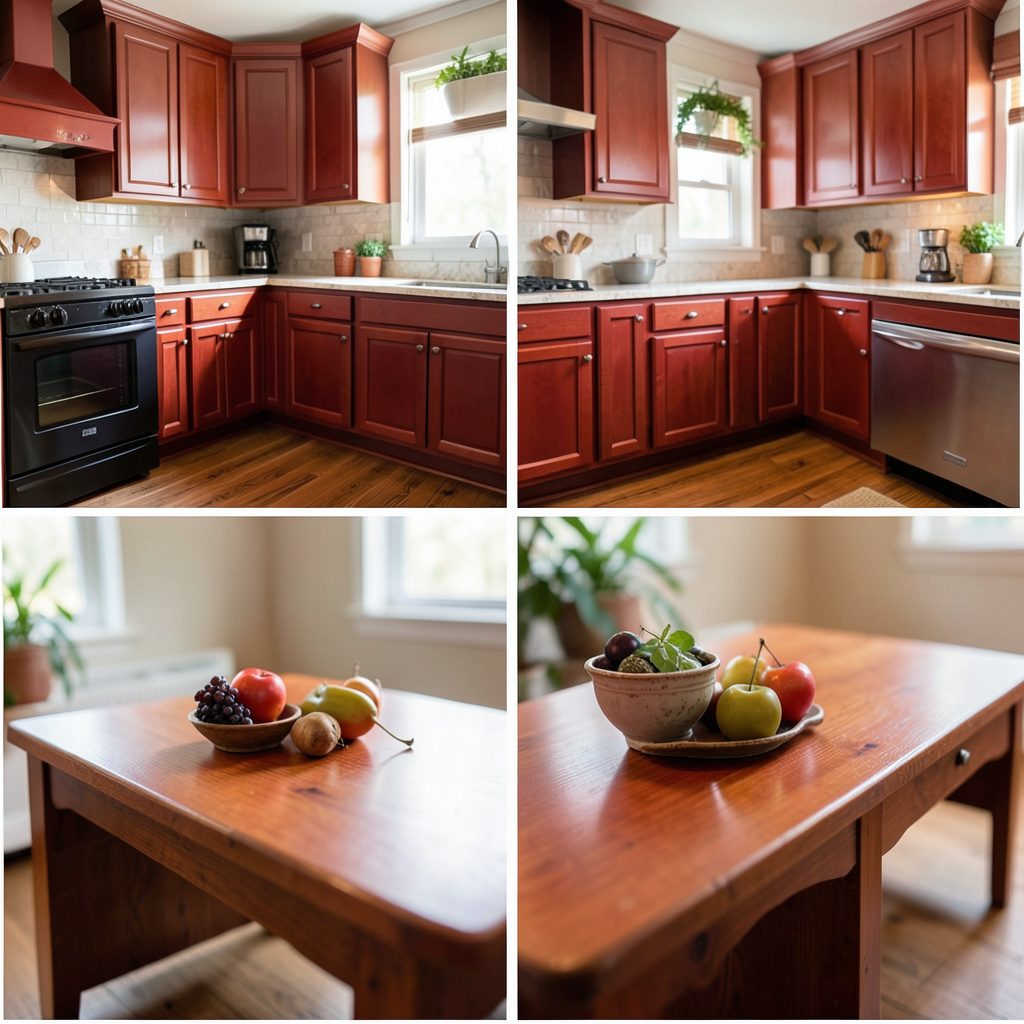
A visual roundup of refacing outcomes across different layouts, useful for comparing styles before starting a project.
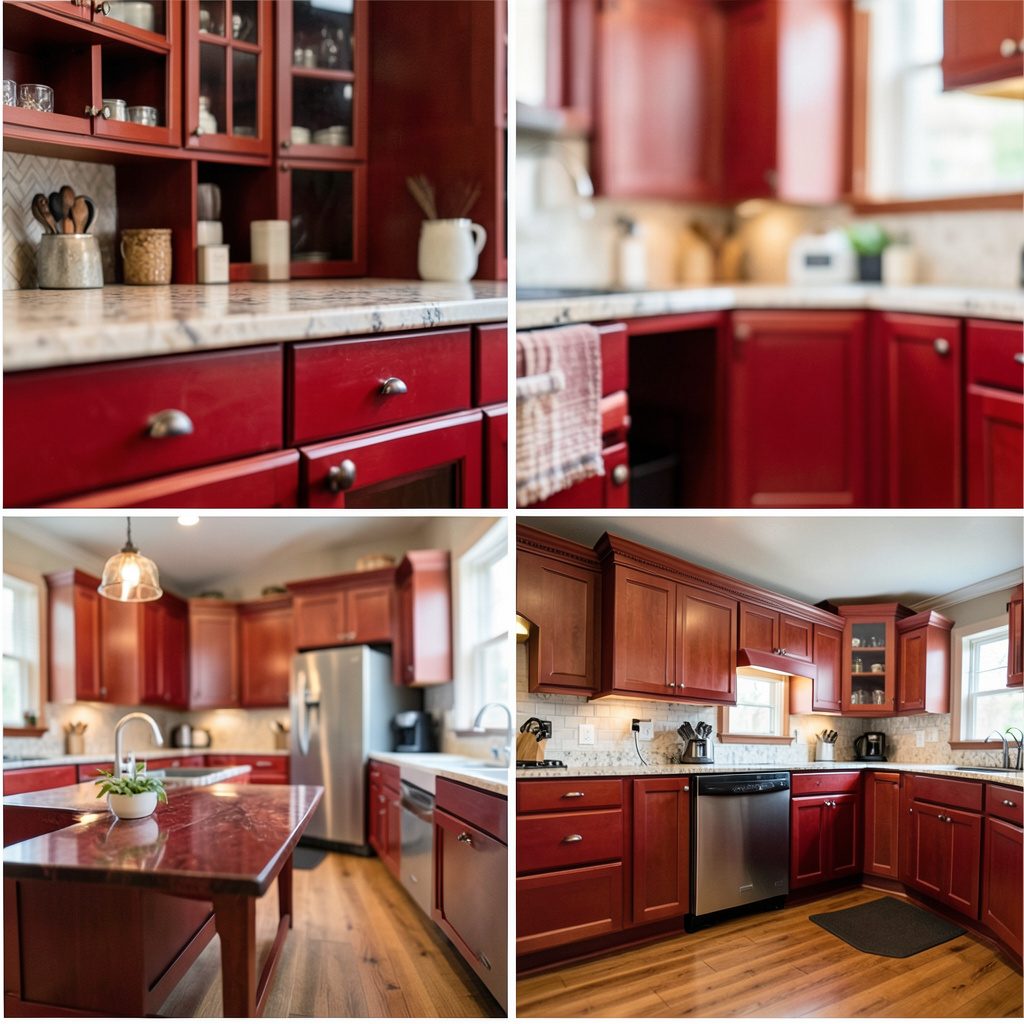
General inspiration drawn from many before-and-after examples, ideal for sketching out a personal refacing plan.
Refacing typically refers to updating cabinet doors, drawer fronts, and the visible exterior surfaces while keeping the existing cabinet boxes in place. The before-and-after comparisons in this section reflect visual changes only.
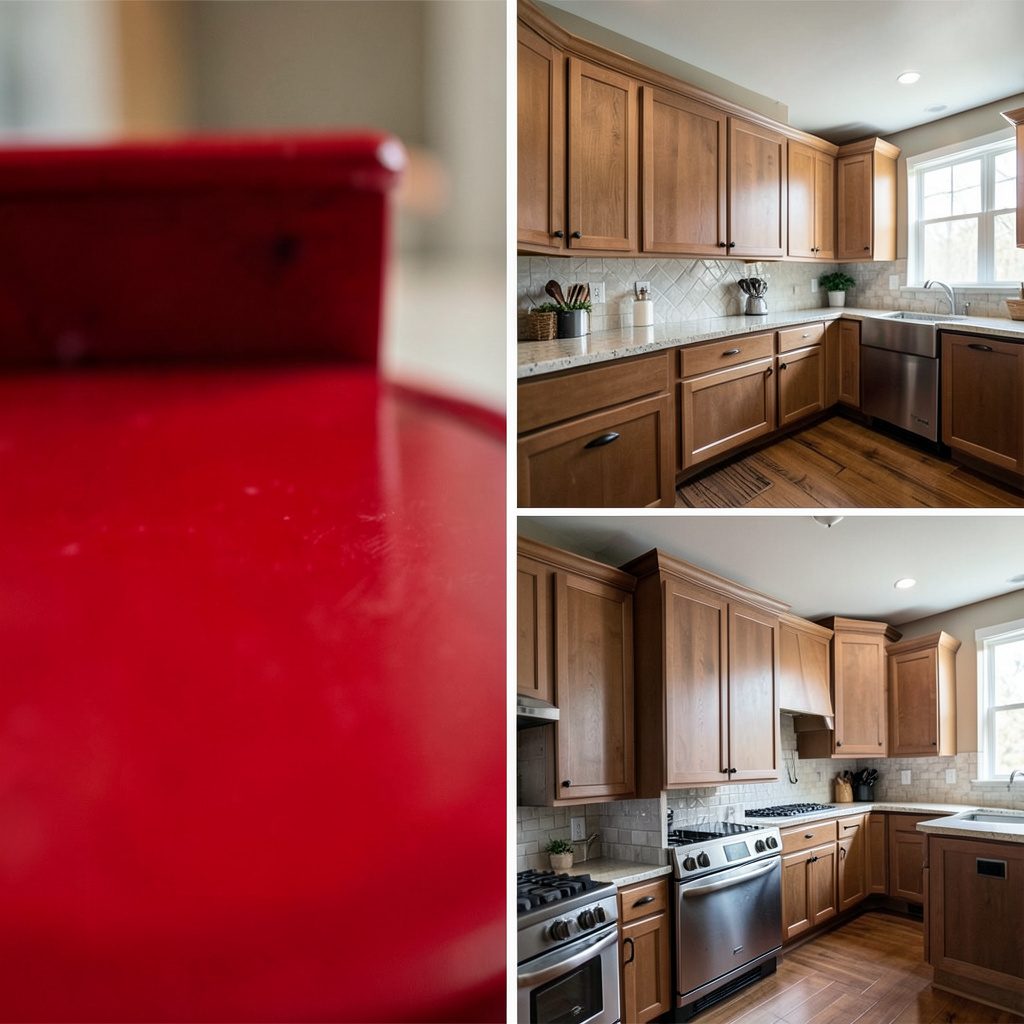
Browse information on Conestoga cabinets, drawer units, and white base cabinet options.
Visit CabinetsResources on tall cabinets, pantry shelves, and pull-out organization ideas.
Visit StorageInformation on Metod wall cabinets, Aneilve pricing, and upper cabinet installation notes.
Visit IKEARefacing projects offer homeowners a way to refresh the look of a kitchen without tearing out the existing cabinetry frames. The approach typically focuses on replacing doors and drawer fronts, applying new veneer to visible surfaces, and updating hardware such as pulls and hinges. Because the structural boxes remain in place, the process avoids much of the mess and disruption that come with full demolition. Visual comparisons between older and updated cabinets often show how a modest change in finish or door style can shift the entire feel of the room. Many homeowners use these before-and-after references as a starting point when planning their own projects and weighing scope, materials, and timeline against a complete remodel. For readers exploring refacing as a do-it-yourself option, the appeal is largely about control over pace, materials, and final appearance. Common steps include removing doors and hardware, preparing surfaces, applying veneer or laminate, and installing new fronts that match the chosen style. White and wood-tone finishes remain popular choices, and the technique works on base cabinets, drawer cabinets, and storage shelves alike. While the work is manageable for many, success depends on careful measurement, clean surface preparation, and patience during finishing stages. Used alongside other kitchen planning resources, refacing can serve as a practical middle path between a full renovation and a simple coat of paint.
Refacing kitchen cabinets is often framed around the visual shift from dated surfaces to refreshed finishes, and before-and-after comparisons are a natural way to communicate that change. Photos typically highlight updated doors, new veneer panels, and replacement hardware while leaving the underlying cabinet boxes in place, which helps illustrate the scope of a refacing project without conflating it with a full remodel. For homeowners browsing ideas, side-by-side imagery offers a quick read on color, proportion, and overall feel, making it easier to imagine a similar transformation in their own kitchen. This kind of documentation also tends to surface design choices people commonly overlook, like the effect of changing only the door style or simply updating pulls and hinges while keeping the original cabinet footprint.